Homemade Seed Starting Mix
Homemade Seed Starting Mix
Starting seeds at home is one of the most rewarding parts of gardening. But success begins with the right seed starting mix, a blend specifically designed to give your seeds the best possible chance of germinating and growing into strong, healthy plants. Rather than buying commercial products that can be expensive or contain unwanted additives, why not make your own? In this post, we'll guide you through what makes a great seed starting mix, how to mix your own at home, and tips for using it.
Why Make Your Own Seed Starting Mix?
A good seed starting mix should be lightweight, well-draining, and sterile to prevent diseases. Most commercial seedling mixes are based on peat moss or coco coir, with added perlite or vermiculite for aeration. By creating your own, you gain control over:
- Ingredients and sustainability (such as using peat-free options)
- Cost savings over time
- Customization to suit your plants’ specific needs
Making your own mix also ensures you're not introducing any harmful pests or pathogens to your seedlings.
What Makes a Good Seed Starting Mix?
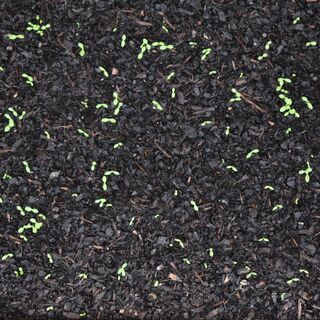
A seedling mix is different from regular potting soil. Seeds don’t need nutrients right away, in fact, too much can burn tender roots. What they need most is a light soil structure and good moisture retention.
We make our own soil and keep some of this aside for the seed starting mix before we add any fertilizers.
Our main garden soil mix includes:
- Bark - fine mix
- Screened topsoil or recycled soil from our large pots
- Compost
The bark and topsoil are mixed together and left covered in a pile over the winter to break down. We then take off our seed starting mix from this pile. Where the compost is added at the last mixing process.
Key components of a homemade seed starting mix include:
- Broken down topsoil and fine bark mix from above – for water retention and lightweight texture
- Compost (small amounts) – for a light nutrient boost once germination starts, this also helps with soil structure
- Perlite or vermiculite (optional) – for drainage and aeration
- Coco Coir - hydrated (optional)
Instructions
- Prepare your base: If using coco coir, soak it in water to expand it fully.
- Sieve: Break up or remove any lumps of your topsoil and bark mix and seive into a clean container or wheelbarrow. Discard the larger pieces back into your compost bins. This is the most important parts of a homemade seed starting mix.
- Combine: Mix in your coco coir and vermiculite. If you’re adding compost or worm castings, mix them in gently.
- Check moisture: Squeeze a handful of the mix—it should feel like a wrung-out sponge. Adjust by adding water or dry ingredients as needed.
- Store or use immediately: Use fresh or store in a sealed container in a cool, dry spot.
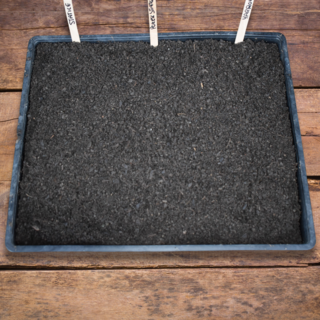
You can use this mix for seed raising trays or pots.
Sterilizing Ingredients (Optional)
To avoid fungal issues like damping-off, you can sterilize your mix in the oven before use. I personally don't bother with this method as we don't have any soil issues on the property but if your plants suffer from any fungal diseases thn this may be a good idea.
To sterilize: Spread your seed starting mix on a baking tray and heat at 180°F (82°C) for 30 minutes. Let it cool before use.
Tips for Using Your Homemade Seed Starting Mix
Use Clean Containers
Always start with clean trays or pots to reduce the risk of disease.
Keep the Mix Moist
Don’t let your seed starting mix dry out completely. Mist or bottom water regularly for even moisture without overwatering.
Add Nutrients Later
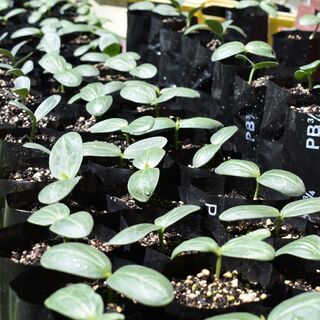
Once seedlings develop their first set of true leaves, transplant them into a more nutrient-rich potting mix or begin a weak fertilizer regimen.
Label Everything
If you're starting multiple varieties, label clearly to avoid mix-ups.
Making your own homemade seed starting mix is a simple, satisfying way to ensure a strong start for your seedlings while saving money and reducing your environmental impact.
Posted: Sunday 3 August 2025